The Rabbit: Rust, Rear Suspension, and a Free Car’s Second Life
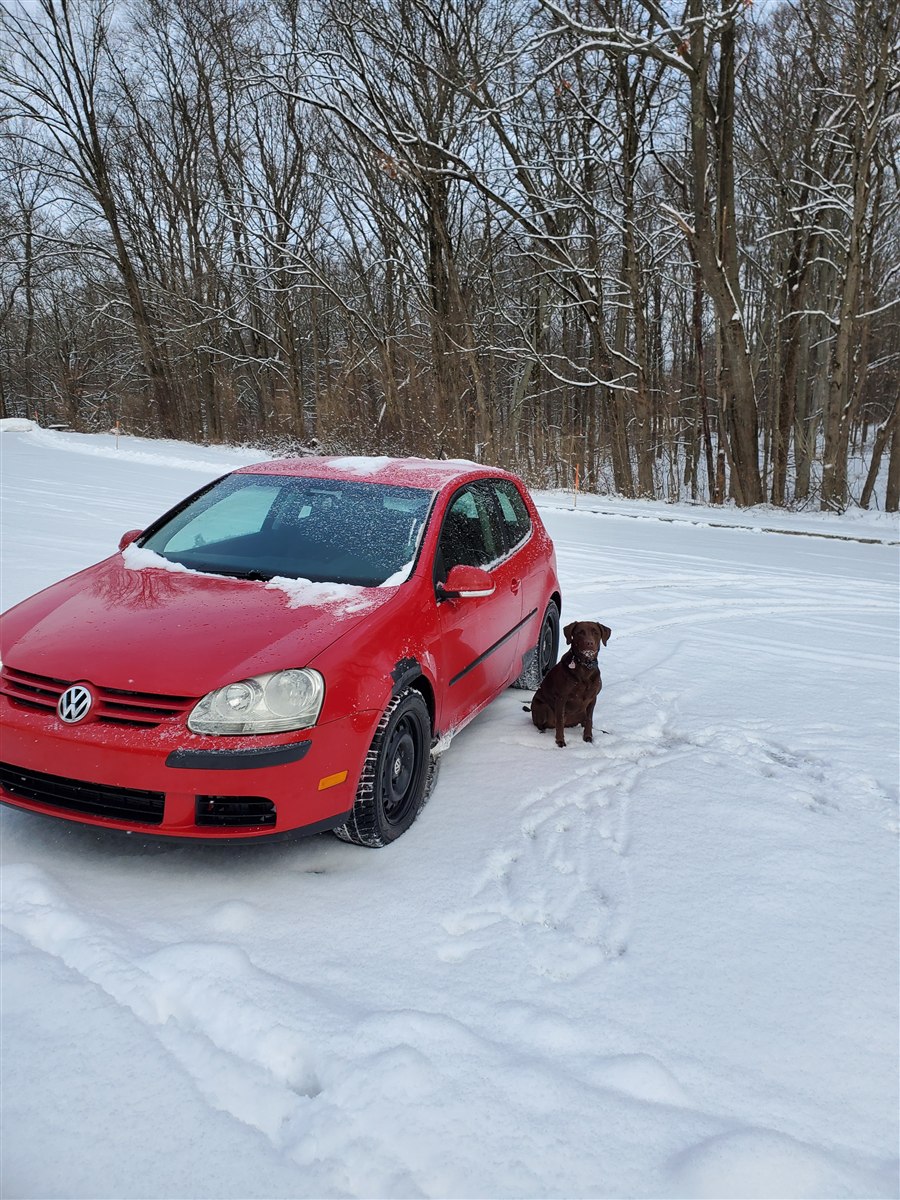
A 2007 VW Rabbit, MK5 platform, 2.5L five-cylinder, two-door hatchback, Tornado Red, acquired for free at roughly 137,000 miles. It runs as the daily driver and highway commuter while two other cars in the fleet sit uninsured and get periodically warmed up. The brief was never “restore it” — it was “keep it reliable and cheap while it earns its keep.”
Problem statement
Three separate failures showed up close together, and they weren’t independent:
- Structural rust. Holes 4+ inches across in the rockers, rear quarter panels, bottom rails, and wheel arches. The frame itself tested solid — this was body and rail rust, not a totaled unibody — but the rails needed sections cut out and replaced.
- Rear wheel bearing failure, requiring replacement on both sides along with the brake components that had to come off to get to them.
- Uneven tire wear. The rear left tire was chewing its inner edge — diagnosed as negative camber and toe-out on that corner. Follow-up inspection found both rear lower control arm bushings cracked and splaying.
The tire wear and the bushing failure were the same problem in two forms: degraded bushings let the rear end move under load in ways the eccentric adjusters can’t compensate for. No alignment was going to hold until the bushings were replaced.
Sequencing
The rust and the suspension work had to be tackled in the order that made mechanical sense, not the order they were discovered:
- Rails first. Cutting rot out of a car and welding replacement sections takes priority over suspension spending for two reasons: putting a car with a compromised rail on a lift for alignment work is asking for trouble, and there’s no point investing in bushings and control arms on a body that isn’t structurally sound underneath them.
- Bushings before alignment. Once the rails are solid, the rear lower control arms come next — Lemförder or Meyle HD units, ~$180 shipped for the pair from RockAuto. Adjusting toe or camber against collapsed rubber doesn’t hold; the eccentric bolt adjustment only means something against fresh bushings.
- Subframe and mount inspection during the rail work, not after. With the underside already opened up by grinder and welder, the subframe mounting points get inspected while they’re exposed rather than discovered later on a lift.
- Everything else deferred. Trailing arm bushings, sway bar end links, upper arm bushings — all identified but explicitly not funded out of the initial ~$350 budget unless they showed visible failure. The rule on a 140K rust-belt car: don’t chase every bushing, prioritize what affects safety and tire wear.
Materials and process
Rust repair: Replacement structural rail sections purchased ahead of time (~$350), front quarter panels sourced separately (~$160). Section-by-section cutting rather than full rail removal — 6–8 inch sections at a time, cut 1–2 inches past the visible rot boundary into known-good steel (checked by probing with a pick until the metal stops flaking), using a cutting wheel against a clamped straightedge for a square cut. Replacement pieces cut long and trimmed to final fit, then tacked at four corners and checked for alignment before any full weld pass — a seam can still be nudged at the tack stage; it can’t after it’s fully welded. Car supported on stands at known-good points away from the rust, one section open at a time so the body never loses structural support all at once.
Corrosion protection: Woolwax as the primary long-term rustproofing layer, applied to rusty areas, seams, and rocker interiors through drain holes as an interim measure before structural repair, with a full treatment planned once the welding is done. POR-15 or Rust Bullet for the structural repair areas specifically. Eventual repaint with a self-etching primer and base/clear coat system — the factory clear is already peeling.
Rear suspension: Both rear wheel bearings replaced, brakes pulled and reinstalled in the process. Rear lower control arms (bushings) queued as the next parts purchase. The toe eccentric lives on the inner end of the lower control arm; the camber eccentric is on the inner end of the upper transverse arm — visually similar bolts in different locations, which causes confusion even in shops. Plan is to soak both the cam bolt heads and the cam-washer-to-subframe contact face ahead of time, since that interface is where Ohio-car eccentrics seize solid. Toe on the left rear is the primary target given the wear pattern, with camber adjustment expected to shift toe slightly and require a re-check after.
Winter interim: Rather than let the car sit through a salt season half-repaired, it ran as the winter beater on a set of 16-inch wheels borrowed from the Alltrack — protecting the newer car’s undercarriage while the Rabbit, already committed to bodywork regardless, took the salt exposure.
Status
Done:
- Rear wheel bearings replaced, brakes reinstalled
- Root cause of the tire wear identified (bushing failure, not just eccentric misadjustment)
- Rust boundaries mapped, cut/fit procedure and material budget settled
- Winter driving handled without risking the newer car or leaving the Rabbit parked through the repair window
Open at time of writing:
- Rail cutting and welding — parts on hand, procedure settled, sectioned approach chosen to make the first cut less of a one-way commitment
- Rear lower control arm (bushing) replacement
- Toe/camber alignment via the eccentric bolts, pending the bushing swap
- Quarter panel replacement and full repaint
The sequencing — structure, then suspension, then cosmetics — is the only part of this log that mattered more than the wrench work itself.